
 Introducing custom garage doors can be an overwhelming errand, at first. Numerous handyman shops the nation over offer to introduce your new obtained garage door, and keeping in mind that they do make reference to the expenses of the repair itself, it once in a while incorporates the climbed up work charges in the main cost gauge.
Your loved ones may have prescribed that you enlist a garage door repair Santa Monica expert repairman to carry out the activity, however with this guide, we’ll show you how to do it without anyone else’s help. Luckily, introducing another garage door isn’t overwhelming in any way, and as long as you adhere to this fight plan, you could have your new custom garage doors up in as long as it takes to peruse this whole archive multiple times.
1.) First, you have to ensure that you secure your weatherstripping of decision to the base of the main board of the garage door.
2.) Affix the principal board at the base of the doorway, and delicately nail every pillar to either side of the doorway, just to settle it set up.
3.) Attach pivots to the best edges of the door in the event that you haven’t officially done as such, and ensure they are secure. (Pull on them a couple of times).
4.) Turn to your producer’s particular headings to amass the bits of the even, bended, and vertical tracks.
5.) Install the rollers on the second segment of the door. Lift the area up, set and slip it’s rollers into the vertical tracks that you just introduced on the doorway. (You may require assistance from a second individual)
6.) Fasten the pivots firmly between the first and second segments.
7.) Repeat the strategy for the third segment. Check the door for the level and the vertical track, likewise, for plumb. Secure the best plates of the vertical tracks to he divider. Ensure slack screws are thoroughly secure.
 8.) Attach pillar sections deliberately to each track and secure every one of them to the confining individuals.
9.) Install and jolt the bended and flat tracks. TIP: Use a stepping stool to rest the even track over a step to make the activity slightly simpler, on the off chance that you need.
10.) Make beyond any doubt everything is leveled out before proceeding onward. Slice the back track holder to the important length. Secure track holder to a strong bit of confining (ideally a roof joist or blocking). Freely mount on holder, and rehash with the contrary side. (Jump to stage 13 in the event that you don’t have a torque cylinder to introduce)
11.) Slip the last door segment into place, and expel brief nails from supports and different zones.
12.) If you have a torque tube, utilize the producer’s bearings to introduce your custom garage doors. Twofold check the arrangement and level of each track, and roll the door up around four to five feet to ensure the majority of the areas are appropriately adjusted, too. In the case of everything looks stable, proceed with the establishment of the torque tube.
13.) You’re finished! Congrats on your DIY establishment!
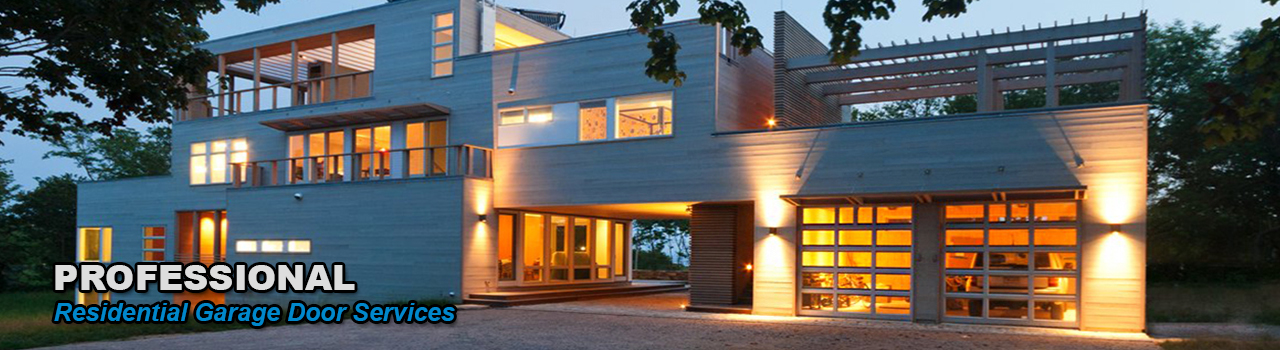
Vista Garage Professionals gives custom garage doors in Santa Monica also installation, service and repairs.